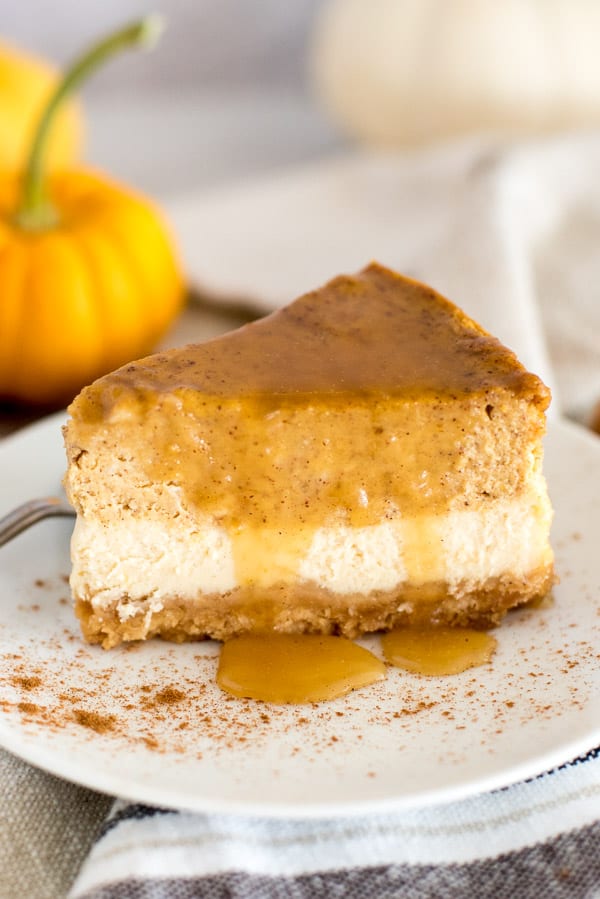
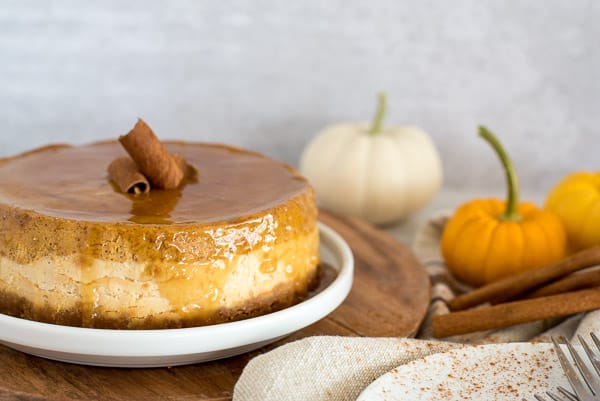
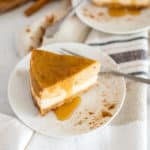
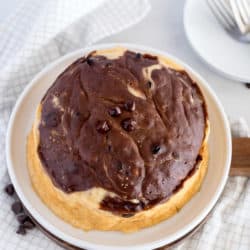
Instant Pot Pumpkin Cheesecake with a layer of vanilla and a layer of pumpkin spice to keep each forkful delightful. Drizzle the whole thing with an irresistible Maple Glaze and you've got yourself a showstopper dessert!
Since I started working with my sisters the past few years, there's possibly one of my little quirks they've learned to dread – indecisiveness.
This one little word keeps me from decorating my house, trying new things at a restaurant, and varying from my daily lunchtime chocolate smoothie.
On the other hand, sometimes being indecisive results in pretty spectacular discoveries.
Do I want Banana Cream Pie or Cheesecake? Ummm . . . BOTH! Behold the Instant Pot Banana Cream Pie Cheesecake.
Do I want an Apple Pie, a Caramel Apple, or Cheesecake? Hmmm . . . GAH! I'll just have both! And just like that, the Instant Pot Caramel Apple Cheesecake was born.
Do I want a Pumpkin Pie, a Maple Glazed Donut, or a Vanilla Cheesecake? Oh for the love, I'll just have all three! Which brings us to the dessert of the day: Layered Pumpkin and Vanilla Cheesecake with a silky Maple Glaze.
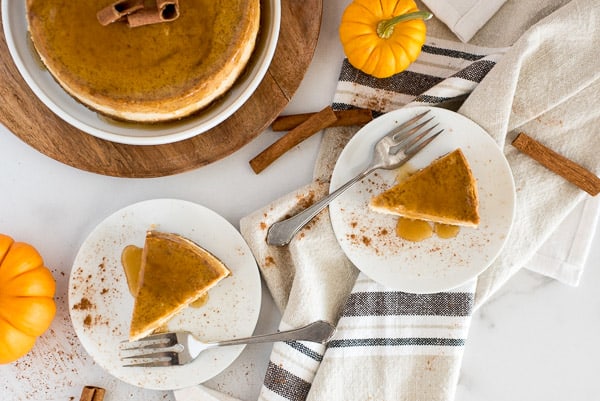
If you're in need of a showstopper dessert to bring to any upcoming celebrations – look no further!
This cheesecake brings the familiar pumpkin pie flavors everyone demands, with an incredible cheesecake twist that will have everyone intrigued and excited to dive in.
If you consider plate licking bad manners, you'll have to excuse your guests, because no one will be able to resist lapping up the maple glaze drips left on their plates.
Are you intrigued?
Indecisive friends unite! We have found our dream dessert!
WHY YOU WILL LOVE INSTANT POT PUMPKIN CHEESECAKE
- COOKIE CRUST: It all starts with a Golden Oreo crust – which just so happens to be my favorite ingredient for a crust. Vanilla wafers are a close second!
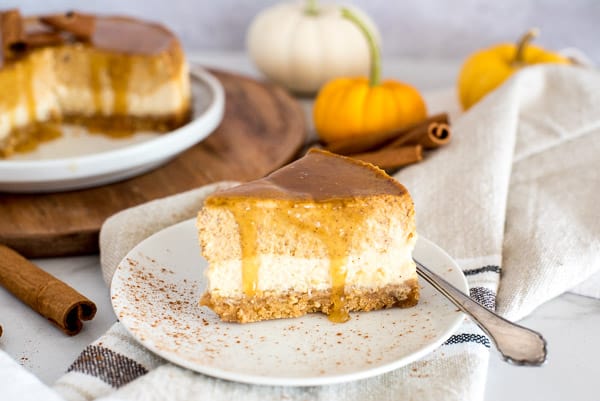
- VANILLA CHEESECAKE: Right above the vanilla crust sits a layer of sweet, creamy vanilla cheesecake. Setting a perfect stage for . . .
- PUMPKIN PIE CHEESECAKE: Bursting with classic pumpkin flavors, with the indulgent texture of a cheesecake.
- MAPLE GLAZE: You know the maple glaze that everyone eats a maple bar for? Well, it's moved its way up to the cheesecake world and it is the perfect topper for this pumpkin pie cheesecake!
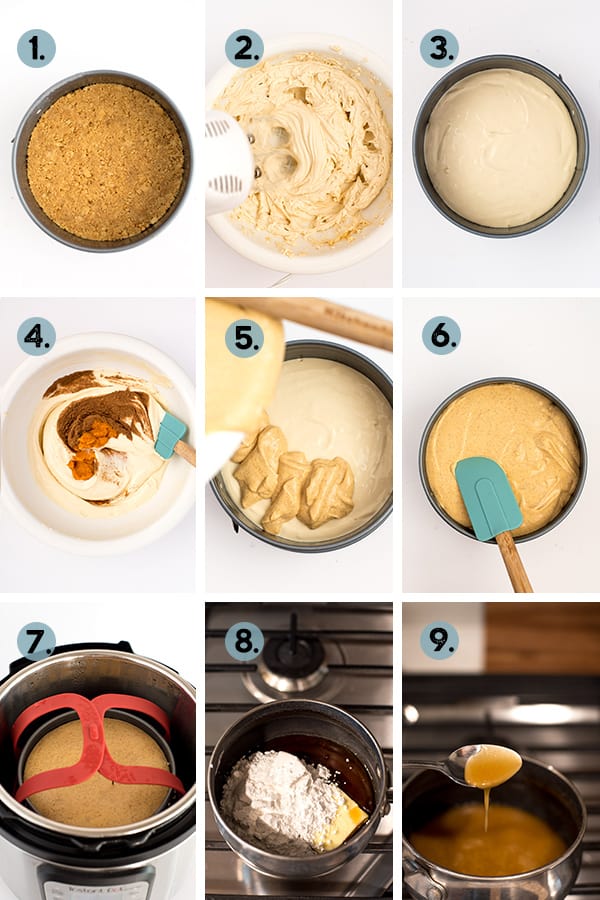
HOW TO MAKE LAYERED PUMPKIN CHEESECAKE IN THE PRESSURE COOKER
- Press the crust into the springform pan
- Mix up the cheesecake batter
- Spread half of it onto the crust
- Stir pumpkin puree into the remaining batter
- Pour it over the vanilla cheesecake layer
- Gently smooth the top
- Pressure cook then cool completely; chill in the refrigerator
- Prepare the glaze
- Cool the glaze until thick, then pour over the cheesecake
SEE RECIPE CARD BELOW FOR DETAILED COOKING INSTRUCTIONS
TIPS FOR MAKING THE BEST PUMPKIN CHEESECAKE
- DON'T OVER BEAT THE BATTER: The #1 cause of overflowing cheesecakes is caused by overbeating the eggs into the batter. Once you add the eggs, mix until just combined.
- USE ROOM TEMPERATURE INGREDIENTS: For the smoothest batter possible, it's best to use room temperature cream cheese and eggs. Trust me, it's worth planning ahead.
- LAYERING TECHNIQUE: To properly layer a cheesecake, start pouring the pumpkin cheesecake over the outside edge of the pan, then move toward the center. If by chance the layer isn't perfect, no worries, it'll still be stunning and delicious so don't stress it!
- CHILL THE GLAZE: Make sure the glaze isn't warm when pouring it over the cold cheesecake. You want it firm enough that it will create a layer of glaze on top. If it quickly falls off the sides, set it in the fridge for 5 minutes or so, then try again.
HOW TO STORE AND FREEZE CHEESECAKE
- Store: Let cooked cheesecake cool to room temperature, then cover and place in the fridge for at least 4 hours or overnight. I prefer to chill it without the springform pan ring to let the crust dry out a bit, but some people insist that the ring helps to keep the shape of cheesecake and prevents cracking. I haven't had issues with that, but I just wanted you to know you have options.
- Freeze: Cut cheesecake into slices and place a piece of parchment paper between each slice. Cover with plastic wrap and place inside an airtight container. Freeze for up to 3 months. When ready to eat, let it thaw overnight in the fridge, or sit it on the counter for 2-3 hours.

MAKE AHEAD TIPS FOR CHEESECAKE
This cheesecake tastes amazing on day 1 as well as day 5. After that, the crust gets a little soggy. Pour the glaze overtop on the day you plan to serve the cheesecake.
VARIATIONS OF PUMPKIN CHEESECAKE
- CRUST SWAP: Swap the Golden Oreos out for vanilla wafers, ginger snap cookies, or regular Oreos.
- CHOCOLATE PUMPKIN CHEESECAKE: Make the vanilla cheesecake layer chocolate by using 2 tablespoons of cocoa powder instead of all-purpose flour.
- CHOCOLATE CHIP CHEESECAKE: Add 1/4 cup of mini chocolate chips to either the pumpkin or vanilla cheesecake layer.
- CHOCOLATE GANACHE: Instead of the maple glaze, pour dark chocolate or white chocolate ganache over top.
This Layered Pumpkin Cheesecake is a spin on the Pumpkin Cheesecake in my cookbook Instantly Sweet. If you love incredible/unique desserts, be sure and grab a copy and discover the potential of making sweets in your pressure cooker.
I'm so excited for you to try out this cheesecake! I've got a long list of cheesecakes in my repertoire, and this one just might be in the top 5 favorites of all time.
Enjoy!
MORE INSTANT POT CHEESECAKE RECIPES
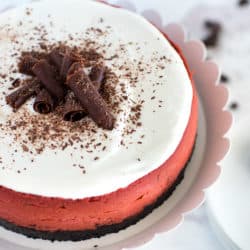
- Instant Pot German Chocolate Cheesecake
- Instant Pot Hot Chocolate Cheesecake with Marshmallow Ganache
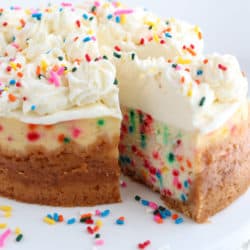
- Instant Pot Funfetti Cheesecake
TOOLS/INGREDIENTS USED TO MAKE INSTANT POT LAYERED PUMPKIN CHEESECAKE
Instant Pot Layered Pumpkin Cheesecake with Maple Glaze
Decedent Layered Pumpkin Cheesecake with an irresistible maple glaze
- Prep Time: 20 minutes
- Cook Time: 35 minutes
- Total Time: 4 hours
- Yield: 8 servings 1x
- Category: Dessert
- Method: Pressure Cooker
- Cuisine: American
Ingredients
For the Crust
- 1 ½ cups golden oreo crumbs (or vanilla wafer crumbs)
- 3 tablespoons butter, melted
For the Filling
- 16 ounces cream cheese, room temperature
- 1/2 cup brown sugar
- 1/4 cup 2% greek yogurt
- 2 tablespoon all-purpose flour
- 1 teaspoon vanilla extract
- 2 large eggs, room temperature
- ½ cup pumpkin puree
- 2 teaspoons pumpkin pie spice
For the Maple Glaze
- 2 tablespoons butter
- ¼ cup pure maple syrup
- ½ cup powdered sugar
- ⅛ teaspoon maple extract (optional for stronger maple flavor)
Instructions
- To make the crust: Coat a 7-inch springform pan with nonstick cooking spray.
- In a small bowl, stir together the cookie crumbs and butter. Press mixture evenly into the bottom of the pan. Place in the freezer for 10 minutes.
- To make the filling: In a large bowl, with a handheld electric mixer, mix the cream cheese and brown sugar on medium speed until smooth. Blend in yogurt, flour, and vanilla. One at a time, add the eggs and mix just until blended. Do not overmix. Pour 1 cup of batter over the crust.
- To the remaining batter, with a spatula, stir in the pumpkin puree and pumpkin pie spice just until combined. Pour the pumpkin batter into the pan, starting near the edges of the pan and pouring toward the center. Smooth the top with a spoon.
- Pour 1 cup of water into the pressure cooker pot and place the trivet in the bottom. Carefully center the filled pan on a foil sling and lower it into the pressure cooker pot. Fold the foil sling down so that it doesn’t interfere with closing the lid. Alternatively, if you own the red silicone sling (pictured in the step by step collage), simply place the cheesecake on top of the sling, and set it inside the pot.
- Lock the lid in place and turn pressure release knob to a sealed position. Select High Pressure and set the timer for 35 minutes.
- When the cook time ends, turn off the pressure cooker. Let the pressure release naturally for 10 minutes, then finish with a quick pressure release.
- Remove cheesecake and check the cheesecake to see if it is cooked through. It should be set around the edges with a very slight jiggle in the center. If it seems underdone, cook the cheesecake an additional 5 minutes.
- Remove the springform pan to a wire rack to cool. Use the corner of a paper towel to soak up any water on top of the cheesecake.
- When cheesecake is cooled, refrigerate covered with plastic wrap for at least 4 hours or overnight. Note: I prefer to chill the cheesecake without the ring around the cake so the crust can dry out.
- Once chilled, prepare the Maple Glaze: In a small saucepan over medium heat, melt the butter. Add maple syrup, powdered sugar, and maple extract. Whisk until smooth. Let cool 10 minutes. Whisk again, and slowly pour the glaze over the chilled cheesecake, letting it drizzle down the sides. If the glaze is so runny that it’s all running off the sides, place it in the fridge for 30 minutes, then try pouring it over the cake again.
- Refrigerate until ready to serve.
Notes
- Golden Oreo cookie crumbs can be substituted with regular Oreos, vanilla wafers, or ginger snaps for a fun twist.
- Be very careful not to overmix the eggs into the batter. This is a common reason why cheesecakes overflow while cooking.
- For an ideal smooth batter, always use room temperature cream cheese and eggs.
- When layering cheesecake batter, always pour from the outside of the pan towards the center. This helps keep an evenly layered look.


This was lovely, definitely one I’ll repeat.My partner is already asking if I’ll make it for Christmas after it was part of our Thanksgiving dinner!
A few notes –
1. I did need to use the extra five min of cook time. This was after following the recipe as written.
2. The glaze needs to be used immediately. It gets hard and does not reheat well at all. I’d love to hear other ideas for a maple drizzle that keeps as a liquid (besides straight up syrup!).
3. I made a sour cream/sugar/vanilla extract topping that I layered on top after the cheesecake cooled, then baked at 400 for 5-10 min. This compensated for the maple glaze and traveled well. Also looked very pretty with the additional layer when you cut into the cake.
Kelly, I’m glad you enjoyed it! Thanks for your feedback and I’m going to have to try that topping idea sometime. I’ve read about it but never tried it. I’m trying to figure out why the glaze went hard on you. Even cold, it’s not hard so I’m so confused about what happened there!
This was delicious! Will become a yearly addition.
Thanks
Sandy, It’s a little untraditional, but feels so right, right?! I’m glad you all enjoyed it!
I really want to try this recipe, but have a couple of questions for you. (I have the 8 quart IP & my springform pan is 6.5”) Would I need to add more water to the pot? Also, would I need to change the cooking time. Hoping to make this for Thanksgiving.
Kathy, I would add 1 1/2 cup water just in case. And my experience is that I can knock off 5 minutes when I use an 8 quart pot. You will love this one, I’m excited for you to try it!
I made this for Thanksgiving and we had SO many desserts it has not even made it out of the fridge!! Can I freeze it for later?
Jo Ann, I’ve frozen it without the glaze, but not with it, however, I think it will be just fine!
Making this for Thanksgiving! We don’t need a foil wrap or cover when cooking?
Sara, nope, no need to cover! Enjoy it!
Do you recommend plain Greek yogurt or vanilla?
Stephanie, I always use plain, but vanilla will work just fine.
Can I make this gluten free? Would almond flour work as a substitute? Or a gluten free blend with a starch
Jessica, yes that should work great.
I just ordered a 7″ springform pan for my instant pot, but it isn’t very deep. How deep does it need to be for this cheesecake recipe?
Your recipes look delicious!
Mary, the pan I use is about 2 inches deep, pretty standard, I think. Which one did you order?
Have never made cheesecake. My question is about Oreo crust. Do I use the whole cookie with the filling, or just the outer cookie part?
Pam, I never scrape the filling out, I just throw the entire oreo into the blender. I’m excited for you to make your first cheesecake 🙂
This looks divine! What is the best egg substitute for this pie please? My son has an egg allergy. Thanks!
Oh my word…quit, just quit. This is so bad for my waistline. Lol. This sounds like heaven for my tastebuds. Going to make this one for sure.
Smiles,
Cecilia
Cecilia, My theory is that when you love and eat your food guilt-free, it doesn’t actually affect your waistline, try it, haha 😉
Haha, good to know. As for replacing pumpkin pie…well, probably not but it will make an appearance along with it. Because after all, can you have too many pumpkin desserts? Lol.
Smiles, Cecilia